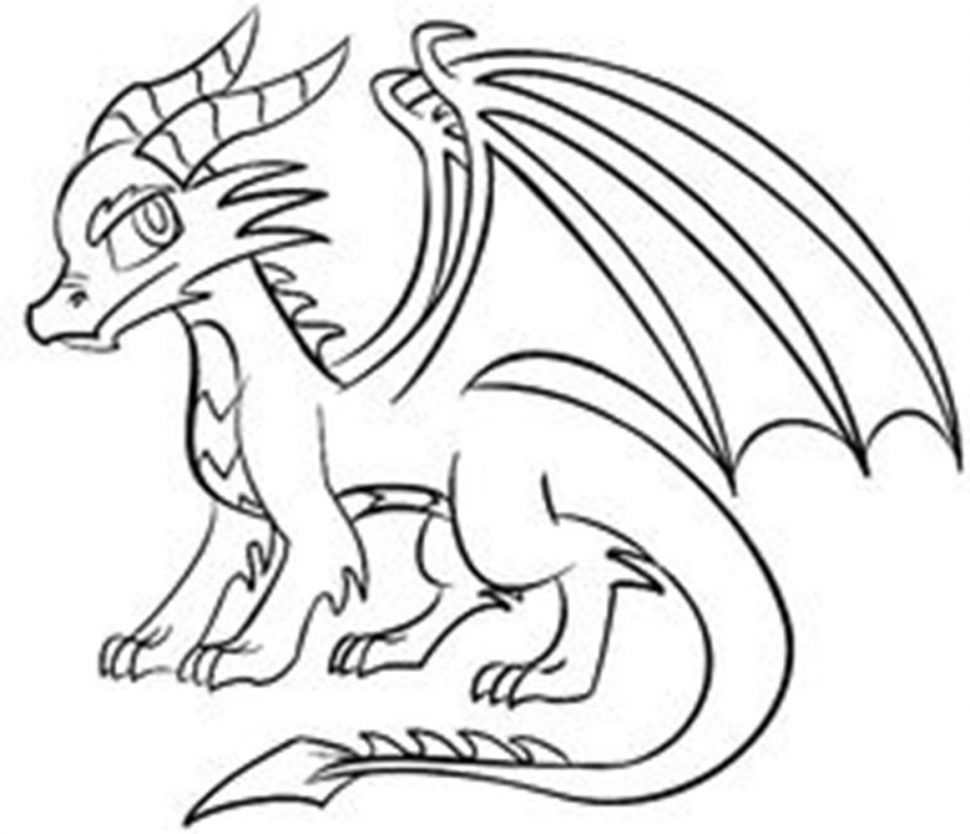
Simple Easy Dragon Drawing
Simple Easy Dragon Drawing - It will be erased later. The back oval should have more rigid. Curves and lines form the basic shape of your dragon. This will give your dragon arms. Margherita cole / my modern met. Again, use reference photos of a variety of animals to fill out this portion of the dragon. Place a circle near the top left side of your paper, making sure it's not too large or else the rest of the dragon won't fit on the page. Draw a circle with a curved jaw for your dragon's head. Web step 1 involves drawing the line we are going to base our drawing on. Connect a small curved trapezoid shape to the left side of the circle to create a rough outline for dragon's snout. Add smaller ovals to the ends of these, with a circle on each of the front two. Margherita cole / my modern met. This will give your dragon arms. Again, use reference photos of a variety of animals to fill out this portion of the dragon. Add nails and claws, and start shading in the appropriate areas. The back oval should have more rigid. For step 2, draw the body of the dragon based off our initial line. Web steps on how to draw a dragon. Web step 1 involves drawing the line we are going to base our drawing on. Draw a circle with a curved jaw for your dragon's head. Web create a backward s shape with a second line starting under the jaw of the dragon, make sure the bottom is wider than the top to keep perspective in mind. Draw a circle with a curved jaw for your dragon's head. For step 2, draw the body of the dragon based off our initial line. To do this, use. Finally, make a little connecting line for the wing joint to help guide where the shoulder will begin. Web steps on how to draw a dragon. Begin by drawing the head with a circle for its round shape, and use an oval to draw the bulk of its body, laying the foundational structure for your drawing. Connect a small curved. Draw a circle with a curved jaw for your dragon's head. Draw the dragon’s legs, shoulders, and feet. It will be erased later. How to draw a dragon. Margherita cole / my modern met. Add nails and claws, and start shading in the appropriate areas. For step 2, draw the body of the dragon based off our initial line. For step 3, erase the line from step 1 and also erase the lines that are dashed. Draw the dragon’s legs, shoulders, and feet. Place a circle near the top left side of your paper,. Web step 1 involves drawing the line we are going to base our drawing on. To do this, use basic shapes and lines to measure out the proportions of. Web add feathers, scales, horns, or whatever your heart desires to fully flesh out your basilisk. Draw the outline of the dragon head and torso. For step 4, draw the dragon’s. Web create a backward s shape with a second line starting under the jaw of the dragon, make sure the bottom is wider than the top to keep perspective in mind. For step 2, draw the body of the dragon based off our initial line. Again, use reference photos of a variety of animals to fill out this portion of. Place a circle near the top left side of your paper, making sure it's not too large or else the rest of the dragon won't fit on the page. Finally, make a little connecting line for the wing joint to help guide where the shoulder will begin. Begin by drawing the head with a circle for its round shape, and. Place a circle near the top left side of your paper, making sure it's not too large or else the rest of the dragon won't fit on the page. Begin by drawing the head with a circle for its round shape, and use an oval to draw the bulk of its body, laying the foundational structure for your drawing. For. Web create a backward s shape with a second line starting under the jaw of the dragon, make sure the bottom is wider than the top to keep perspective in mind. Draw the outline of the dragon head and torso. It will be erased later. Draw a circle with a curved jaw for your dragon's head. Connect a small curved. This will give your dragon arms. Web create a backward s shape with a second line starting under the jaw of the dragon, make sure the bottom is wider than the top to keep perspective in mind. Finally, make a little connecting line for the wing joint to help guide where the shoulder will begin. For step 3, erase the. Add nails and claws, and start shading in the appropriate areas. Connect a small curved trapezoid shape to the left side of the circle to create a rough outline for dragon's snout. Draw a circle with a curved jaw for your dragon's head. For step 4, draw the dragon’s head, eyes, and tail. Add the front of the head. It will be erased later. Web steps on how to draw a dragon. Margherita cole / my modern met. Web create a backward s shape with a second line starting under the jaw of the dragon, make sure the bottom is wider than the top to keep perspective in mind. How to draw a dragon. Draw the dragon’s legs, shoulders, and feet. Place a circle near the top left side of your paper, making sure it's not too large or else the rest of the dragon won't fit on the page. To do this, use basic shapes and lines to measure out the proportions of. Again, use reference photos of a variety of animals to fill out this portion of the dragon. This will give your dragon arms. Curves and lines form the basic shape of your dragon.
dragon drawing Easy to draw dragons jpg
Simple Dragon Line Drawing at Explore collection

how to draw a dragon step by step for beginners Ellan Dupree
How to Draw a Dragon? 40+ Easy Dragon Sketches HARUNMUDAK
How to Draw a Dragon? 40+ Easy Dragon Sketches HARUNMUDAK
How to Draw a Dragon Easy Step by Step Drawing for kids

Simple Dragon Drawing at GetDrawings Free download

How To Draw A Simple Dragon, Step by Step, Drawing Guide, by

Dragon Drawing Easy Step By Step Free download on ClipArtMag

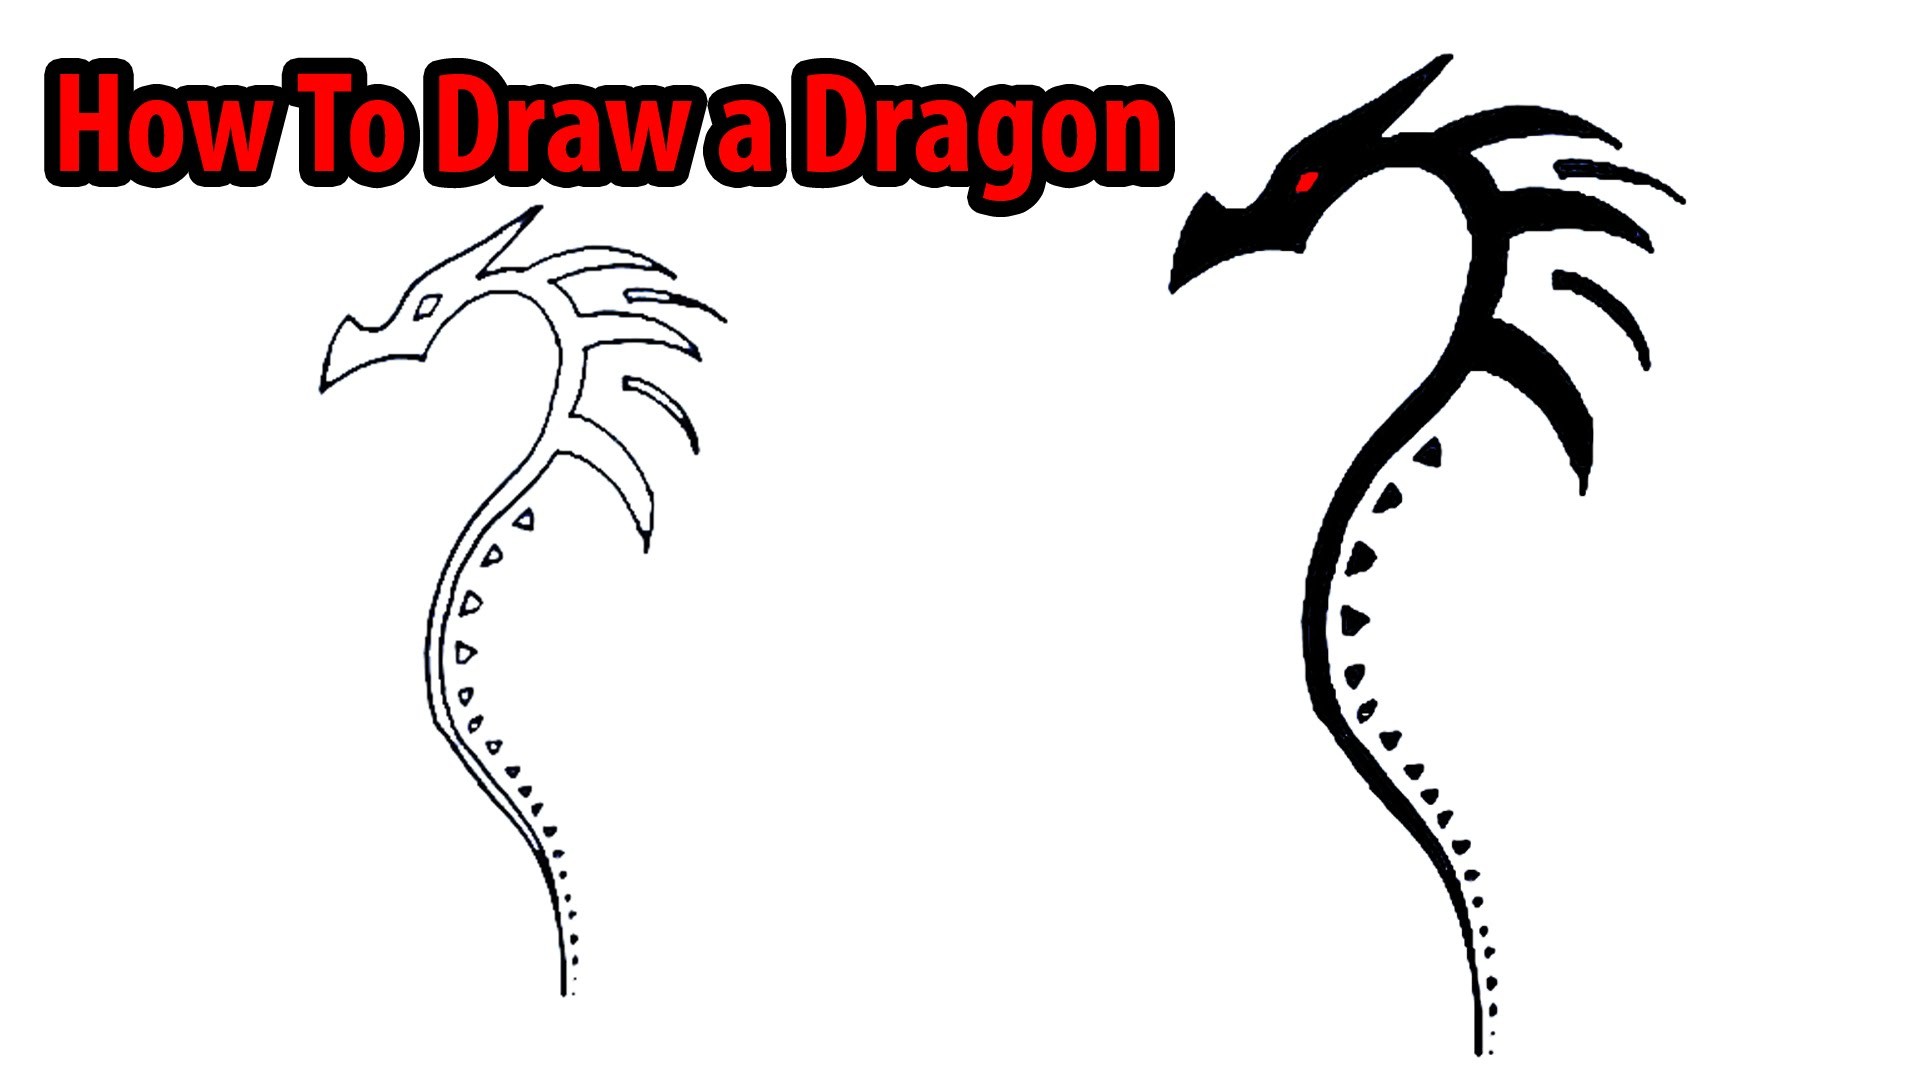
How To Draw a Dragon Head Step By Step For Beginners New 2015
Web Add Feathers, Scales, Horns, Or Whatever Your Heart Desires To Fully Flesh Out Your Basilisk.
For Step 2, Draw The Body Of The Dragon Based Off Our Initial Line.
Begin By Drawing The Head With A Circle For Its Round Shape, And Use An Oval To Draw The Bulk Of Its Body, Laying The Foundational Structure For Your Drawing.
For Step 3, Erase The Line From Step 1 And Also Erase The Lines That Are Dashed.
Related Post: